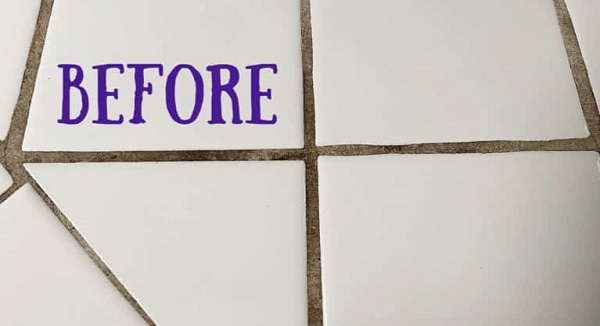
Here’s our handy how-to, which will help you make all the grout in your house look brand-new!
STEP 1: Put on protective gear.
It’s a good idea to don some protective gear before you gather the materials to make your homemade grout cleaner. Remember to be extra cautious when you’re working with hydrogen peroxide. Pull on your rubber gloves before you get to work. (While hydrogen peroxide is generally safe for topical use, it can sting if it gets in any cuts.) Also, be sure not to splash any in your eyes—rinse immediately if you do.
STEP 2: Create a mixture of baking soda and hydrogen peroxide.
Unscrew the lid of a small squeeze-top container. Pour 1/2 cup of baking soda into the bottle, then mix in 1/4 cup of hydrogen peroxide. The baking soda will help remove tough stains and hard water buildup, while the hydrogen peroxide will clean and brighten, cutting through residue on the grout to remove discolorations.
STEP 3: Add dish soap and shake to combine.
Add 1 teaspoon of liquid dish soap, then replace the lid and shake the mixture to make sure the ingredients in your homemade grout cleaner are well combined.
STEP 4: Apply grout cleaner, let sit, and wipe away.
Use the squeeze-top bottle to apply the homemade grout cleaner in a fine line to any areas in need of a good scrub. Let the mixture sit on the grout for about five minutes so it can really work its way into the stain, then wipe the mixture off with a sponge or paper towel. Rinse with water to remove any residue. If stains remain, repeat as needed until the grout is clean.
